Single sign-on based on Security Assertion Markup Language
Zenskar supports single sign-on (SSO) based on security assertion markup language (SAML).
Definitions
Identity provider (IdP): performs authentication and passes the user's identity and authorization level to the service provider (SP). Google is an IdP.
Service provider (SP): trusts the IdP and authorizes the given user to access the requested resource. Zenskar is an SP.
Obtain signing certificate from Zenskar
Before enabling SAML-based SSO in your Cloud Identity or Google Workspace, you must contact [email protected] to obtain a signing certificate, which is a base64-encoded RS256 signing certificate in PEM format:
-----BEGIN CERTIFICATE-----
MIICmzCCAYMCBgF7v8/V1TANBgkq...
-----END CERTIFICATE-----
After authenticating a user, Zenskar passes a SAML assertion to Cloud Identity or Google Workspace. To enable Cloud Identity and Google Workspace to verify the integrity and authenticity of that assertion, Zenskar signs the assertion with a special token-signing key and provides a certificate that enables Cloud Identity or Google Workspace to check the signature.
Configuring Cloud Identity or Google Workspace
You must configure single sign-on in Cloud Identity or Google Workspace.
-
Open the Admin Console and log in using a super-admin user.
-
In the menu, click Show more and go to Security > Authentication > SSO with third-party IdP.
-
Click Add SSO profile.
-
Set Setup SSO with third party identity provider to enabled.
-
Enter the following settings:
-
Sign-in page URL:
https://ZENSKAR_AUTH_SERVER/protocol/saml -
Sign-out page URL:
https://ZENSKAR_AUTH_SERVER/protocol/openid-connect/logout -
Use a domain specific issuer: clear
-
Change password URL:
https://ZENSKAR_AUTH_SERVER/account
In all URLs, replace the following with values provided by Zenskar:
ZENSKAR_AUTH_SERVER: the fully qualified domain name of Zenskar's authentication server
-
-
Under Verification certificate, click Upload certificate, and then pick the token signing certificate that you received from Zenskar.
-
Click Save.
-
Sign out of the Admin Console.
Testing single sign-on
You've completed the single sign-on configuration. You can now check whether SSO works as intended.
-
Choose a Zenskar user that satisfies the following criteria:
-
The user has an email address.
-
The email address corresponds to the primary email address of an existing user in your Cloud Identity or Google Workspace account.
-
The Cloud Identity user does not have super-admin privileges.
User accounts that have super-admin privileges must always sign in by using Google credentials, so they aren't suitable for testing single sign-on.
-
-
Open a new browser window and go to the Google Cloud console.
-
On the Google sign-in page, enter the email address of the user account, and then click Next.
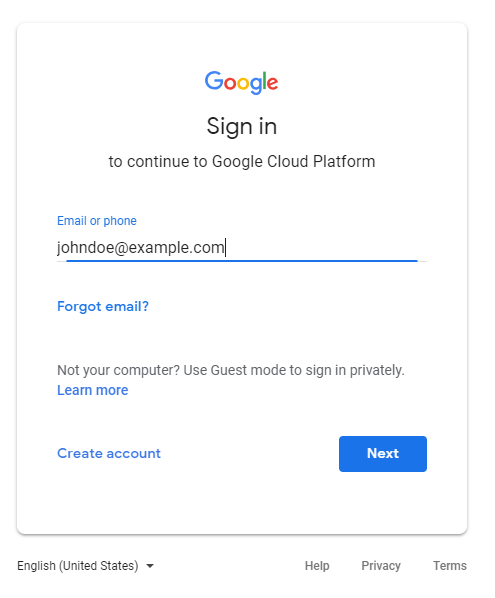
You are redirected to Zenskar.
-
Enter your Zenskar credentials, and then click Log in.
After successful authentication, Zenskar redirects you back to the Google Cloud console. Because this is the first login for this user, you're asked to accept the Google terms of service and privacy policy.
-
If you agree to the terms, click Accept.
-
You are redirected to the Google Cloud console, which asks you to confirm preferences and accept the Google Cloud terms of service. If you agree to the terms, click Yes, and then click Agree and Continue.
-
Click the avatar icon, and then click Sign out.
You are redirected to Zenskar, logged out, and redirected to
www.google.com.
If you have trouble signing in, keep in mind that user accounts with super-admin privileges can bypass SSO, so you can still use the Admin console to verify or change settings.