How to create email templates
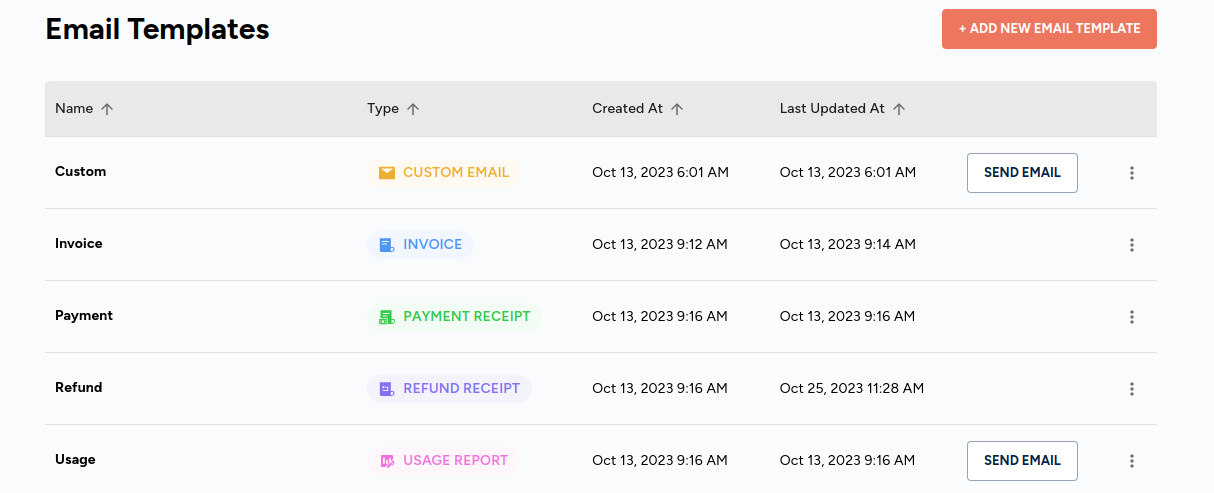
- Navigate to Communications > Email Templates and click on the + ADD NEW EMAIL TEMPLATE button.
- Select an email template type to create an email template based on your requirements. The following email template types are available:
- Invoice: to send invoice-related emails to customers.
- Payment Reminder: to send payment reminders to customers.
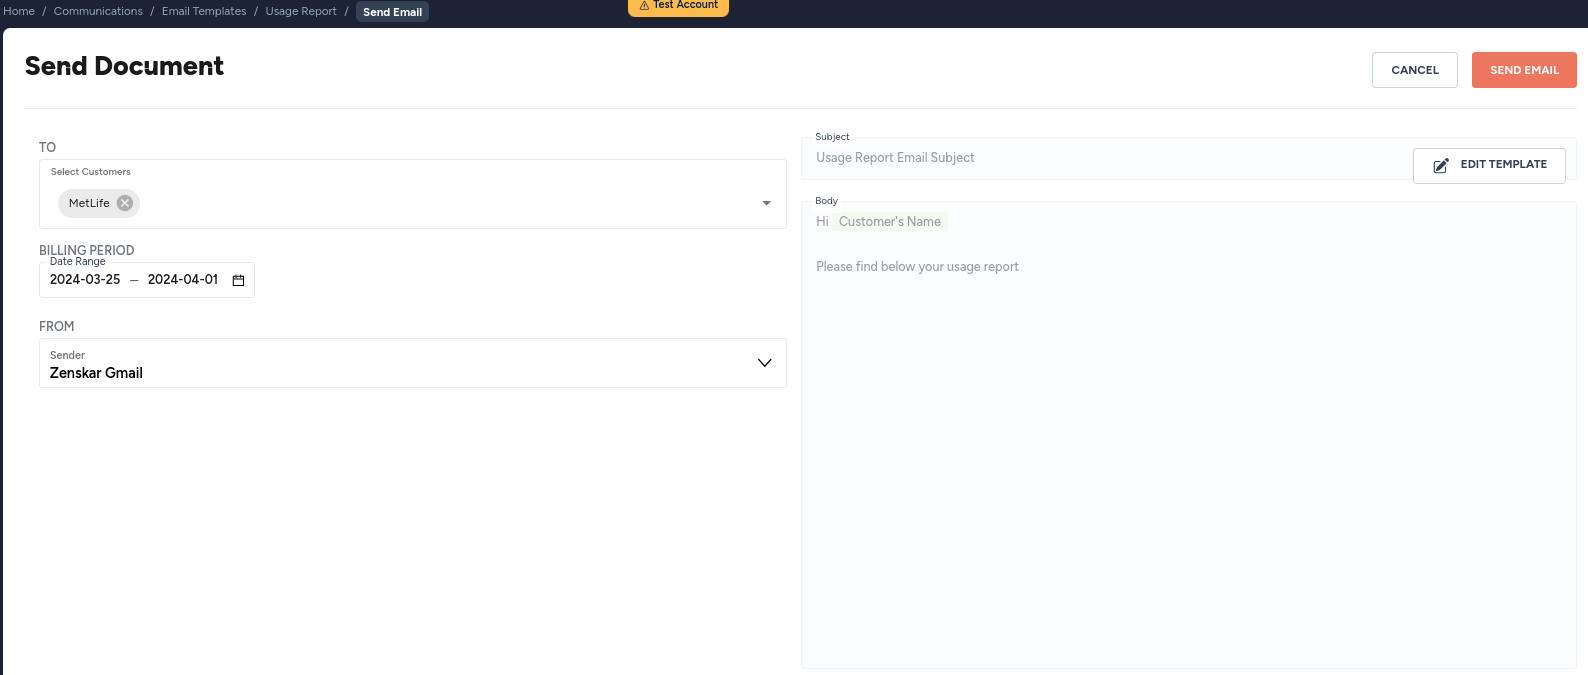
- Usage Report: to send usage reports based on latest aggregates to customers.
- Refund Receipt: to send refund receipts to customers.
- Contract Document: to send contract documents to customers.
- Custom Email: flexible general-purpose templates.
- Payment Receipt: to send payment receipts to customers.
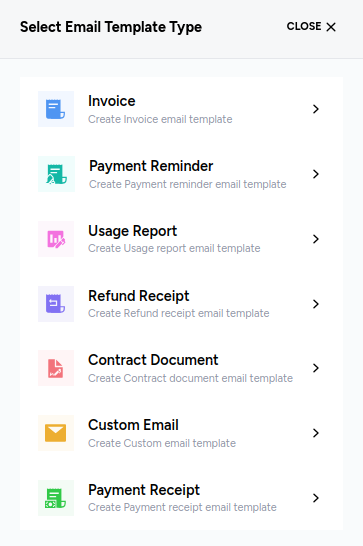
Fig. 1: Select an email template type
Invoice email template
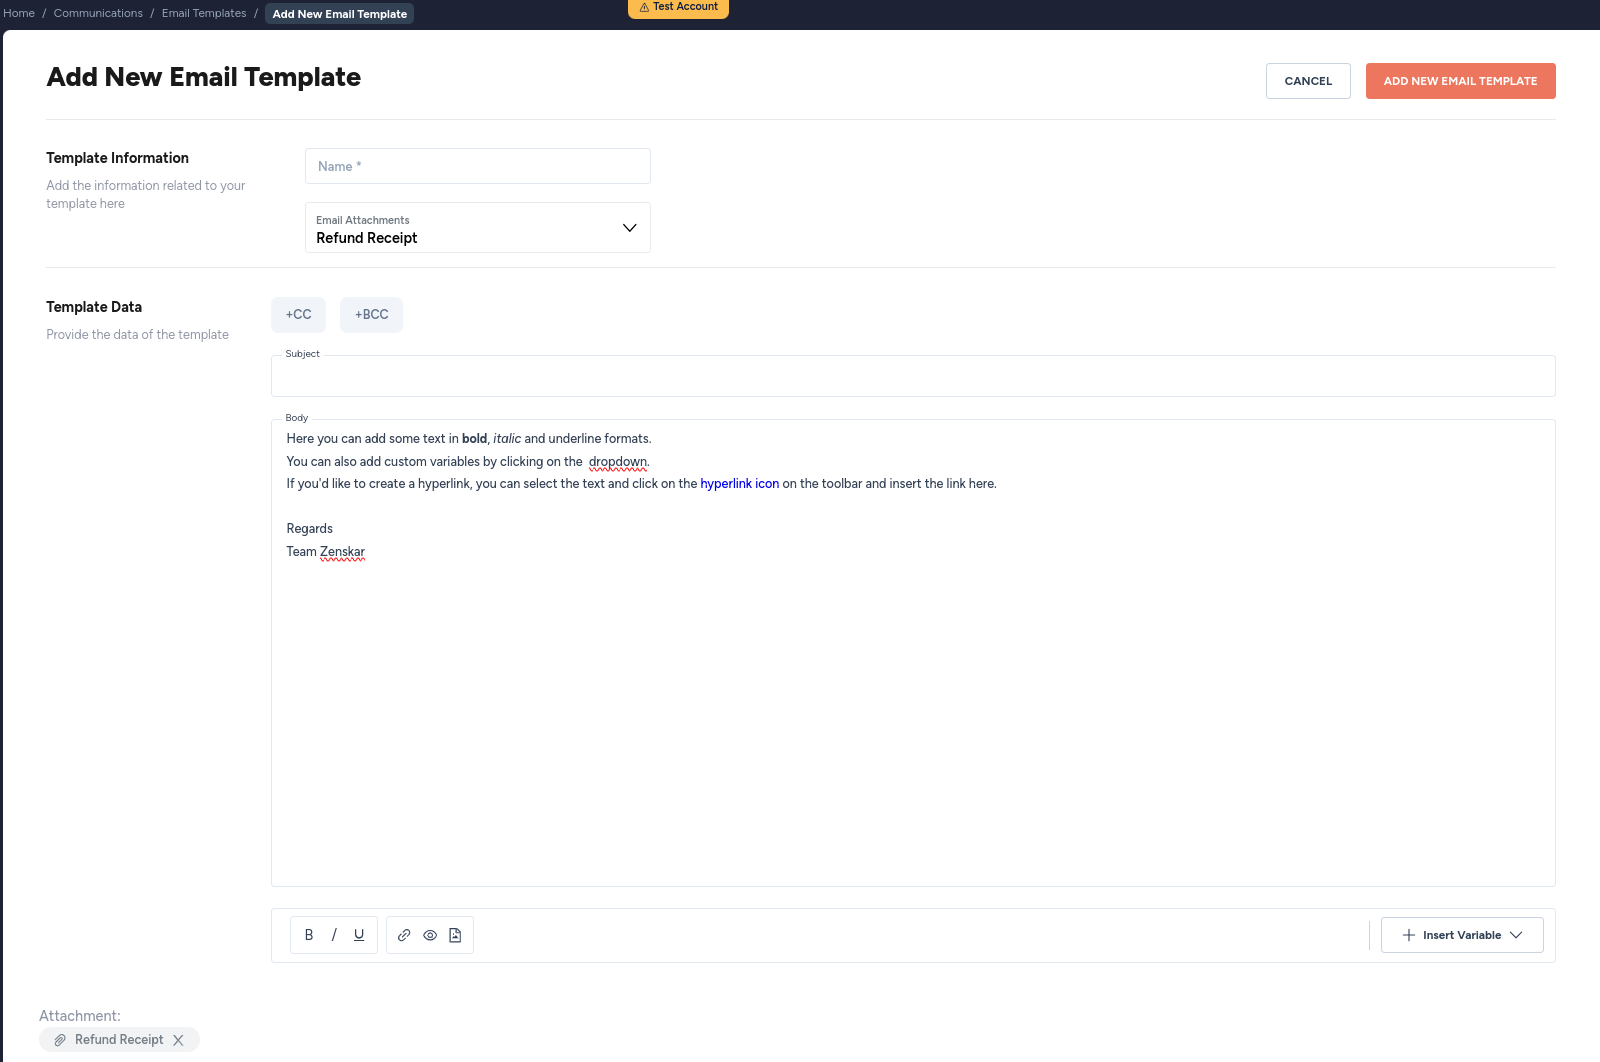
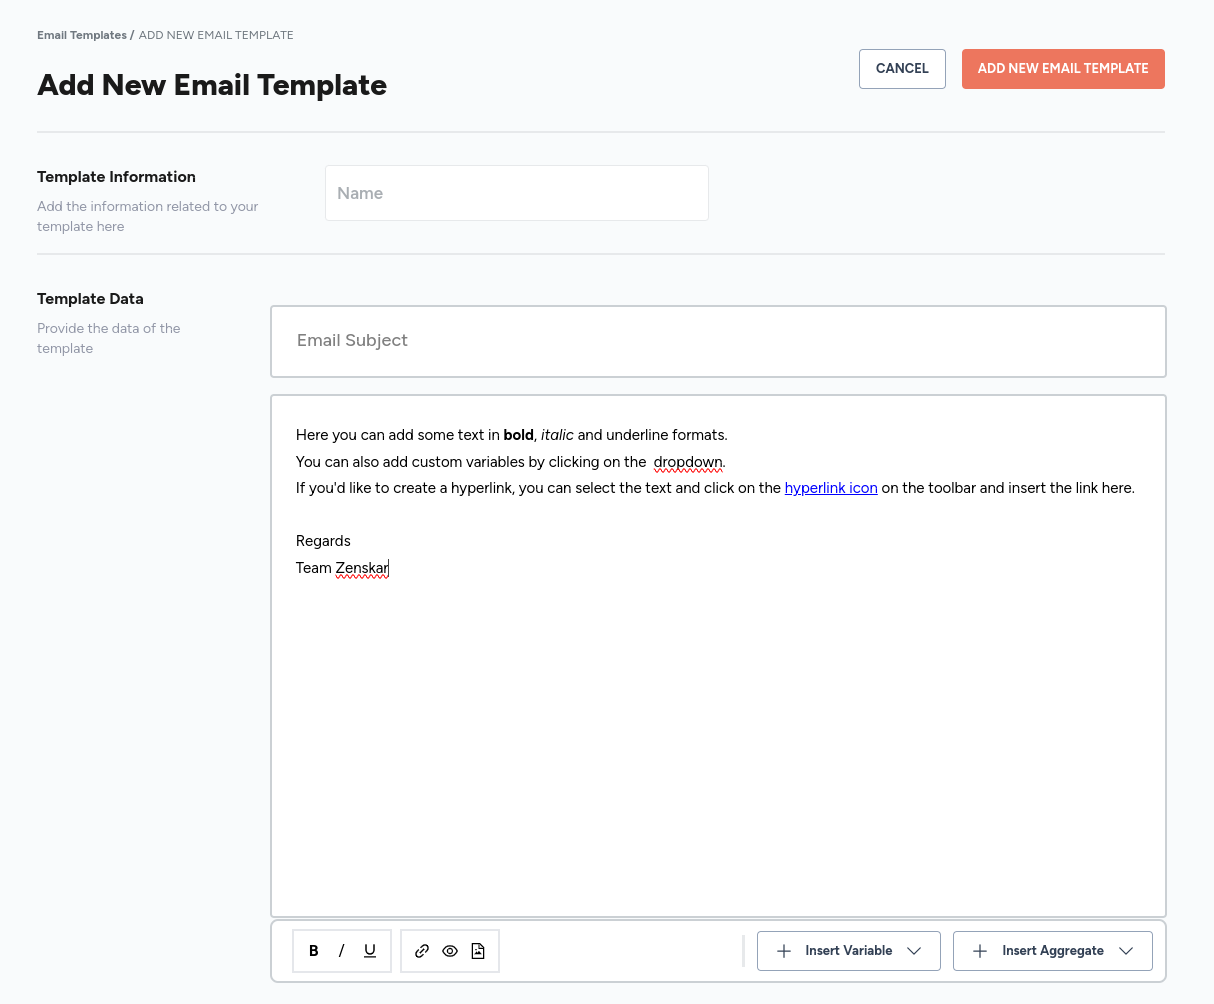
- Enter a name for the template.
- Add an email attachment. Currently, Invoice, Payment Receipt, and Refund Receipt can be attached.
Note
Email attachments are document templates. The Email Attachments drop-down will show all existing document templates. You must create document templates by navigating to Communications > Document Templates.
-
Input template data: subject and body of the email. The Insert Variables drop-down can be used to add placeholders in the body of the email. The Zenskar backend will replace the placeholders with contextually relevant values when an email is sent.
The following variables are available:
| Customer variables |
|---|
| Name |
| ID |
| External ID |
| Address |
| Invoice variables |
|---|
| Number |
| Invoice date |
| Due date |
| Total |
| Due amount |
| Payment link |
| Billing cycle start |
| Billing cycle end |
| Billing duration |
- The email template editor allows you to add the following to your email template body:
- hyperlinks: select the word you wish to display as a hyperlink, and use the link tool
 from the bottom toolbar to create a hyperlink to a location on the web.
 - hidden elements: if you wish to include certain keywords in the emails that are invisible to your customers, you can use the hide tool
 . This gives you the ability to perform keyword-based searches in your mail client while not cluttering the emails you send.
 - images: you can use the image tool
 to either insert an image URL or your organization's logo.
- hyperlinks: select the word you wish to display as a hyperlink, and use the link tool
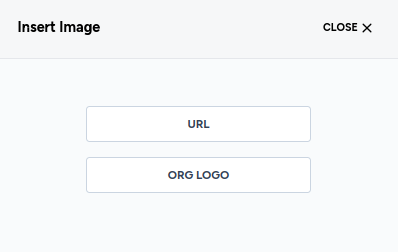
Organization logo
Navigate to Settings > General, and click on the CHANGE LOGO button to upload your organization's logo.
- Save the template by clicking the ADD NEW EMAIL TEMPLATE button.
All existing email templates can be viewed by navigating to Communications > Email Templates.

Payment receipt email template
The process is similar to invoice email template creation. Refer the invoice email template creation process.
Usage report email template
The process is similar to invoice email template creation process with the following differences:
- Email attachment option is not available.
- Option to add aggregates is available.
- Emails can be sent to customers anytime by clicking on the SEND EMAIL button on the email templates page.
Note
The Insert Aggregate drop-down will show all existing aggregates. You must add aggregates by navigating to Metering > Usage Aggregates.
Refund receipt email template
The process is similar to invoice email template creation. Refer the invoice email template creation process.
Contract document email template
The process is similar to invoice email template creation. Refer the invoice email template creation process.
Custom email template
If the above email template types do not meet your requirements, the flexibility of the custom email template may be what you are looking for.
The process is similar to invoice email template creation with the following differences:
- Email attachment option is not available.
- Emails can be sent to customers anytime.
Sending emails
- Navigate to Communications > Email Templates.
- Click on the kebab menu at the end of the row you are interested in.

- Select email recipients(s) using the Select Customers drop-down.
Note
- The Select Customers drop-down will list all existing customers. You must add customers before exercising this option.
- The CSV file must include either the
external_idorcustomer_idto identify the recipients. If neither of these IDs is included, an error message will be displayed.
- If needed, you can edit the email template before sending the mail.
- Once you have ensured that correctness of all the data, click on the SEND EMAIL button.
